Olive and June nail polish : an honest review
I’m a bit of a sucker for a new nail polish. I don’t know why but I always feel more put together when my nails are done. I’m usually a gel nail polish kind of girl, but I finally gave into the Olive and June hype machine and it did not disappoint.
I got a solid 4 days of wear out of my at home Olive and June manicure and that is about the best I can hope for outside of a gel manicure. I used their whole system, base coat, ridge filler, top coat, and dry drops. I know, it’s a commitment, but lucky for you all I’m a rule follower.
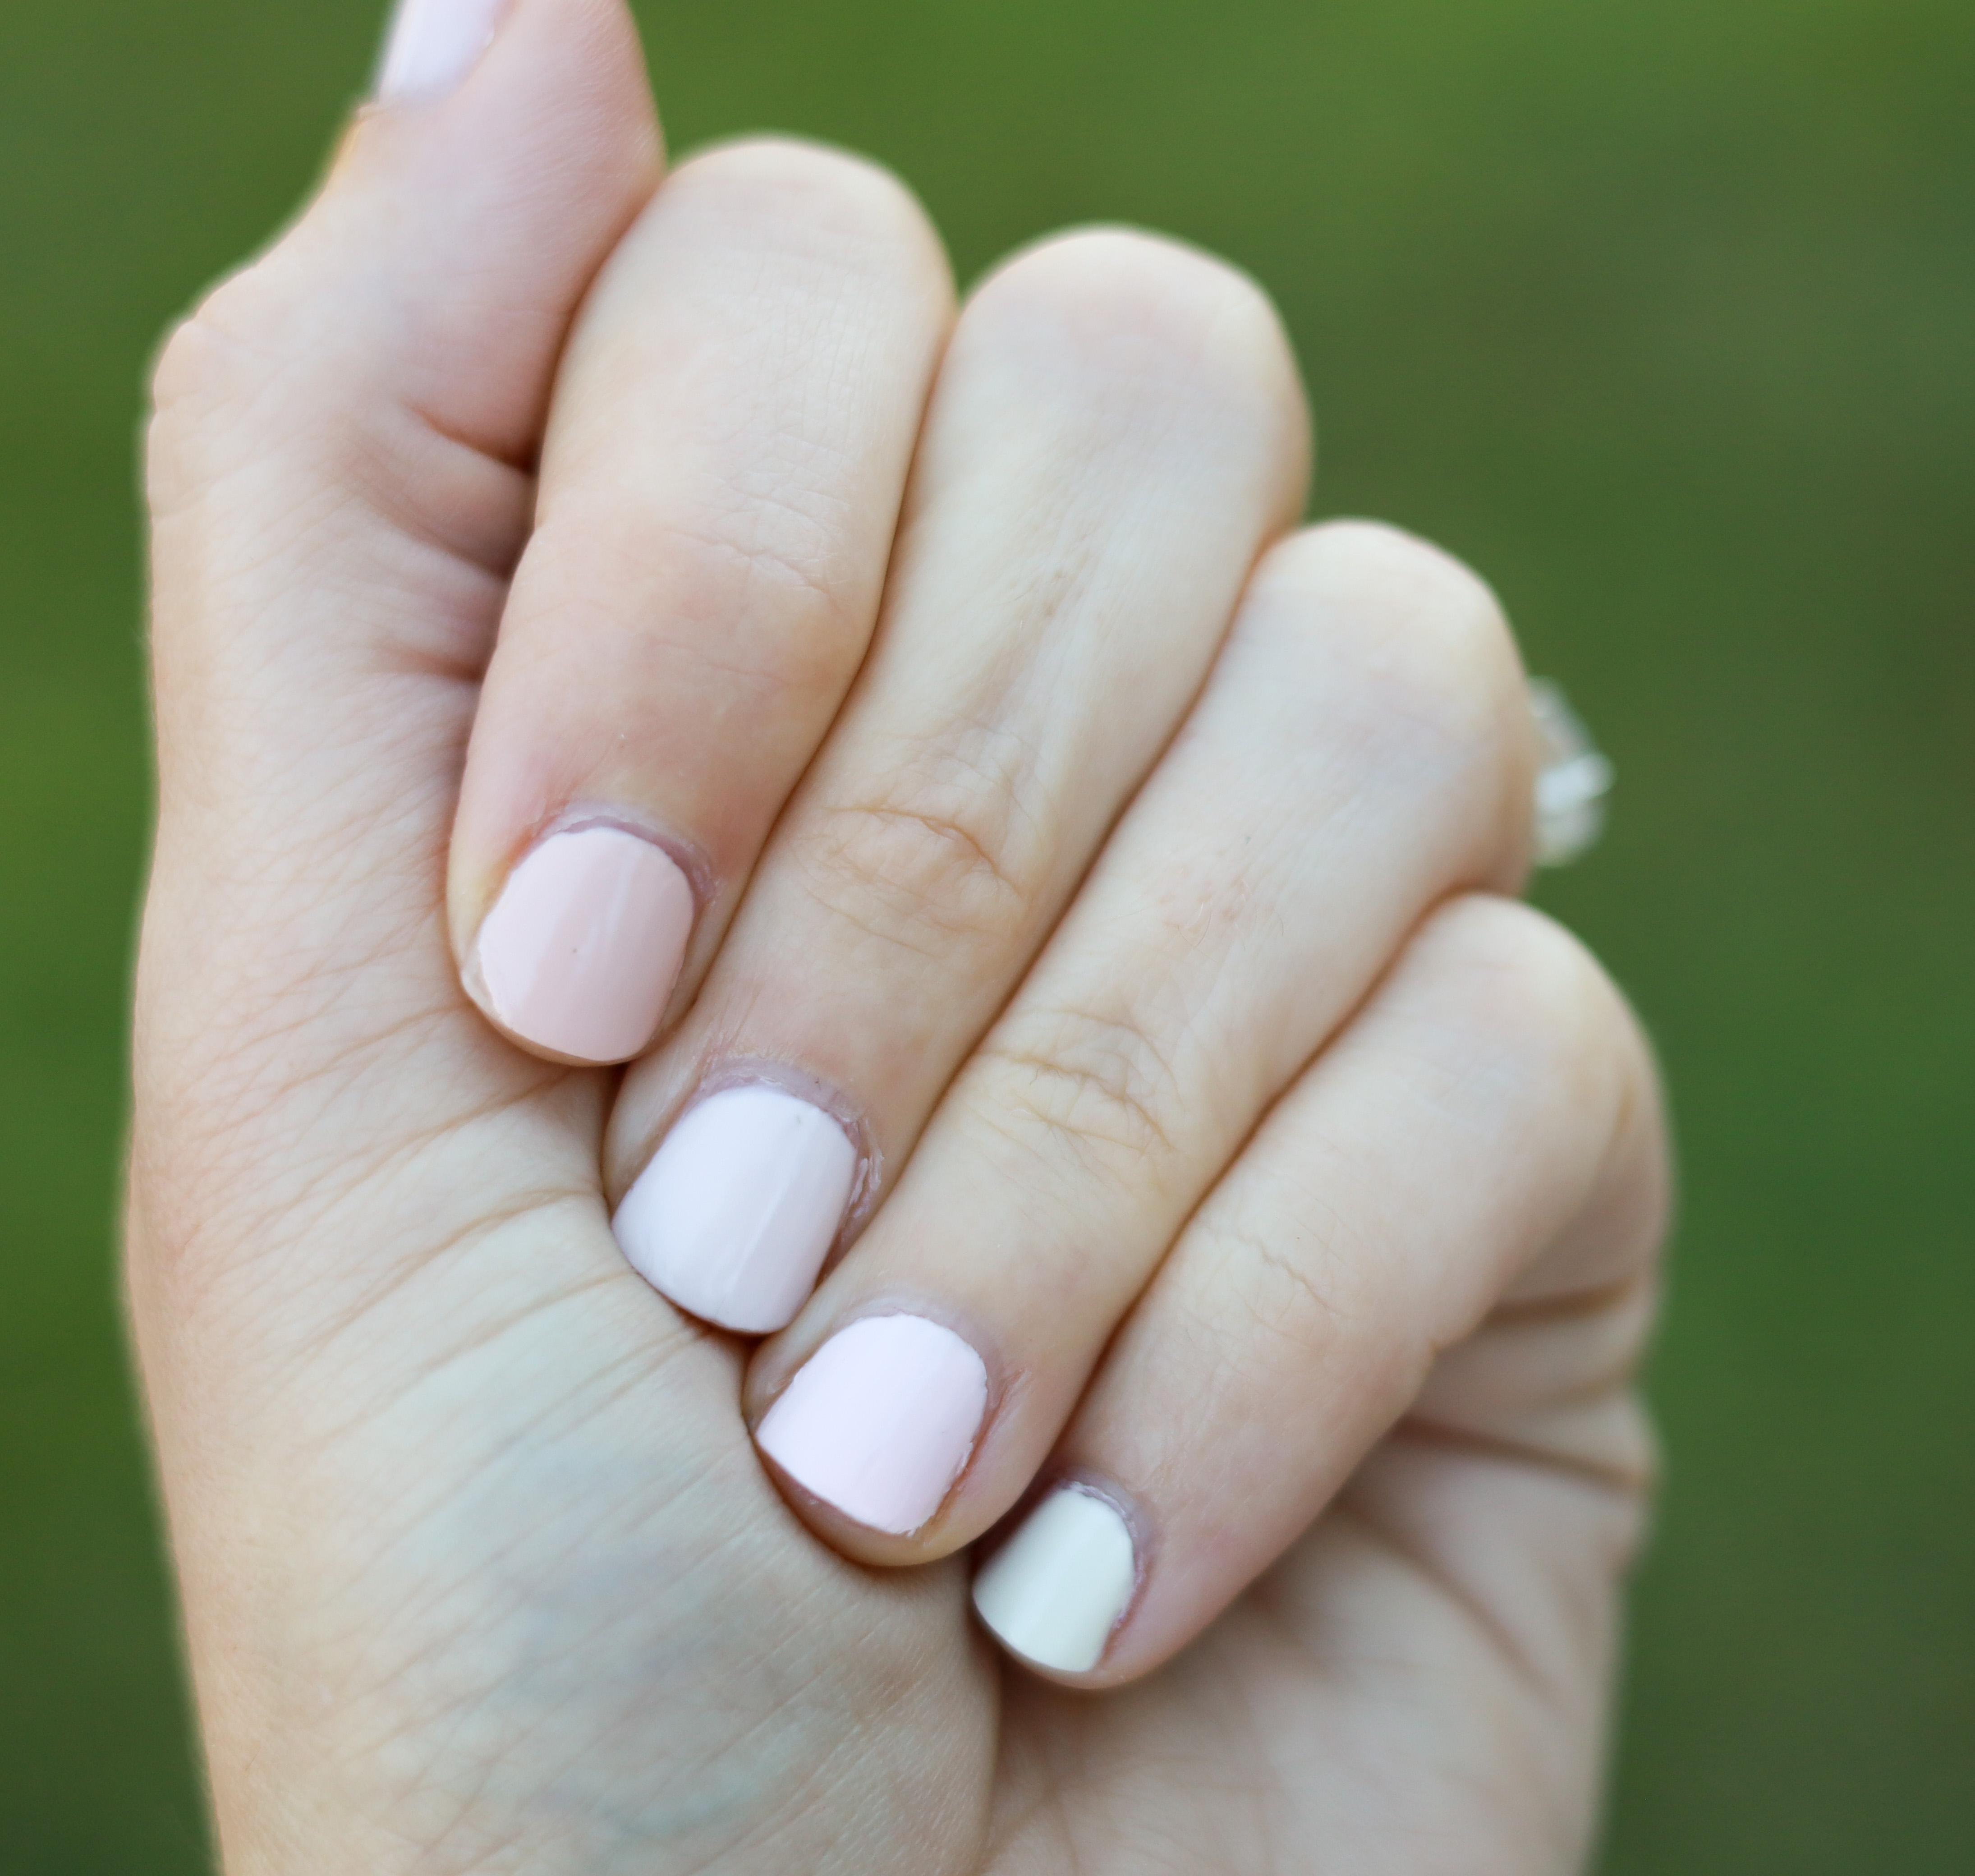
I took pictures on day’s 1,2, and 4. I also wanted to try a few different versions of their white and pink colors so I did a different color on each nail. I labeled the colors to help give you an idea of what they look like on a regular human as opposed to the perfect hand of a nail model. I don’t know about you but I get extreme decision fatigue when trying to choose from 20 different white/cream/beige/pink colors on a brand website. Anyway enough chit-chat lets get to the reason you came here.
This first picture is Day 1.
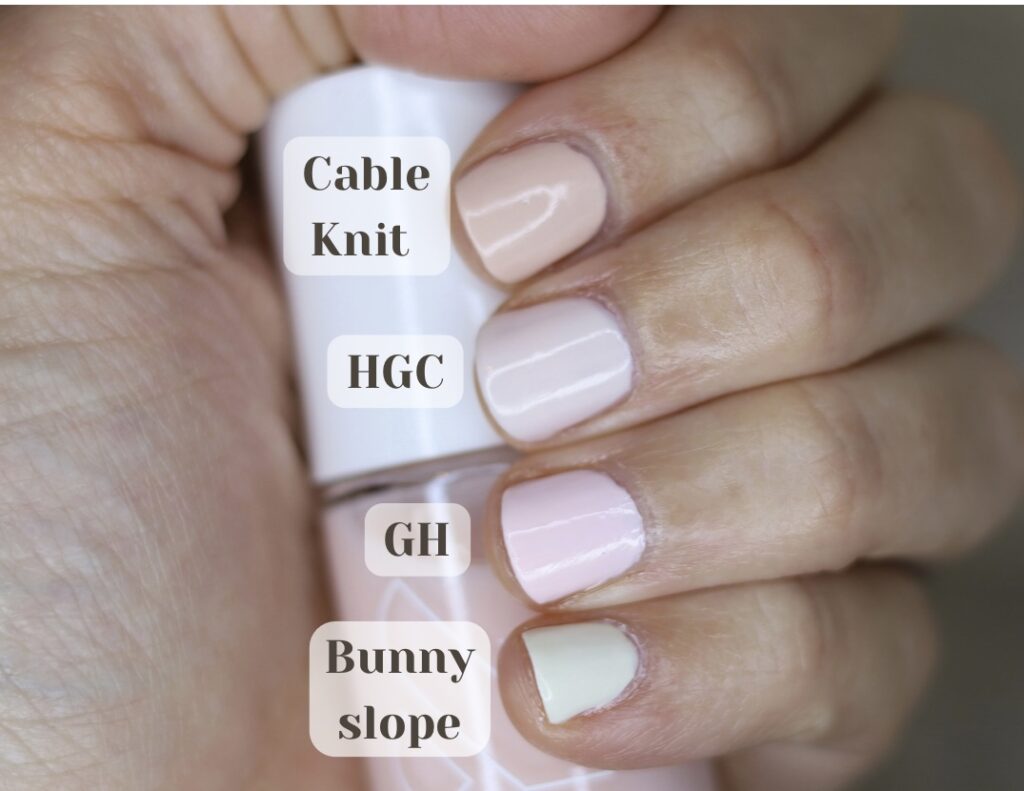
Quick color breakdown:
Cable Knit – Peachy Cream Nude. Opaque after two coats, but I did 3.
HGC – Sheer white/pale pink. Think OPI bubble bath or Funny Bunny. I did 3 coats but I always do 3 with sheer colors.
GH – . Pale pink cream. This one was the most streaky of the bunch. You for sure need three coats but it’s really pretty if you’re willing to make the effort.
Bunny Slope – White Cream. This one is opaque after just two coats. And it is very opaque. Similar to OPI Alpine snow but a little more warm.
Alrighty on we go to day 2. I know, you’re on the edge of your seat.
Surprisingly, it still looked really good to me the next day. It’s hard to tell from this picture but it was starting to chip a little bit on the corner of my index finger. This could have been user error where I wasn’t careful enough with the top coat.
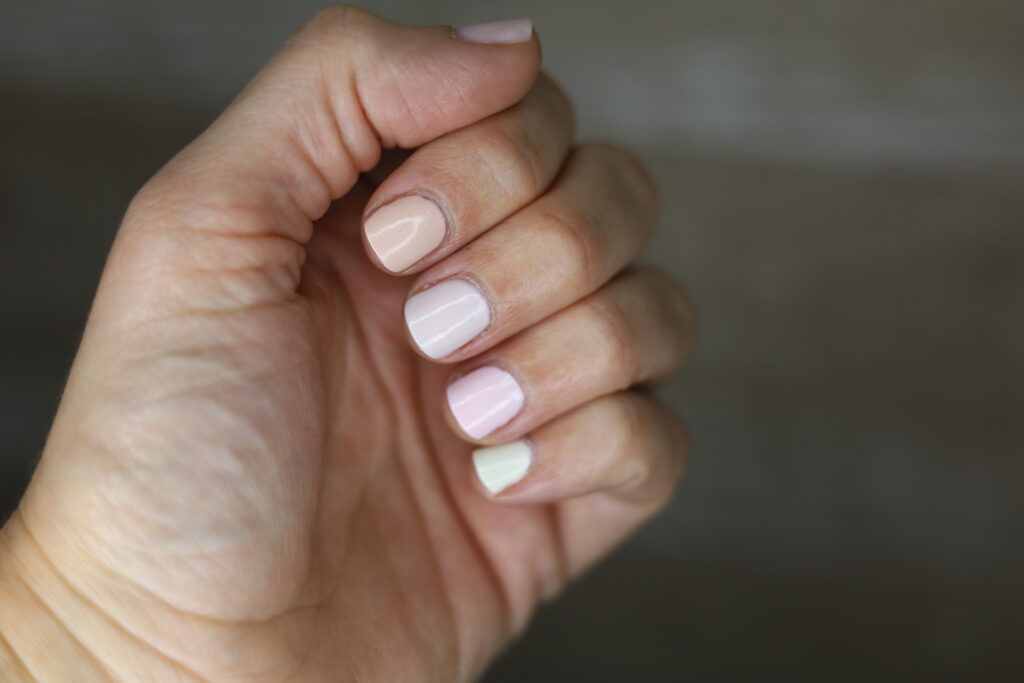
Okay so I forgot to take a picture on Day 3. It looked the same as Day 2 just trust me.
Straight to Day 4 we go! By this point I was ready to change it and it had finally started to chip. I was actually really happy with the way it lasted because I very rarely get more than two days out of a regular manicure.
Here is a new piece of information I found out after the fact, via their website. They recommend you RE-APPLY the top coat every 2-3 days. OHHHHHH. So, I probably could have gotten a few more days out of this manicure.
My overall impression of this brand is positive. I do think it helps to use their entire system. This is not a brand where I would try to mix and match top coats and bottom coats from other brands. Unless you are a rebel, then by all means go for it you wild thing.
A few other things to note:
- As always 2 or 3 thin coats is better than 1 or 2 thick coats. Think of it the same way you would think of painting a wall in you house. If you slap the paint on like you’re the next Jackson Pollock and don’t spread it out evenly, you’ll end up with pools and drips all over. Same goes for you nails.
- Don’t be a hero, just splurge on the dry drops. They’re worth it.
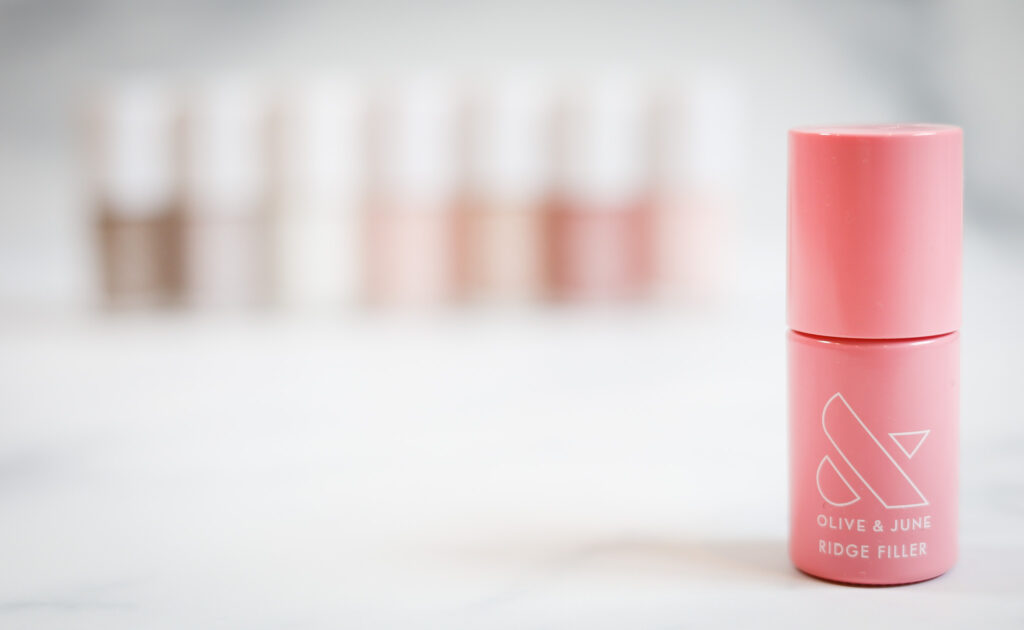
- Ridge filler is your new best friend. I used to think this was a marketing ploy but it’s the real deal and makes a noticeable difference. Don’t try to buff away the ridges in your nails, as it will thin them unnecessarily and you already have enough problems am I right?
Have you tried any Olive and June products yet? What did you think? I’d love to hear your thoughts in the comments. Thanks for showing up!


